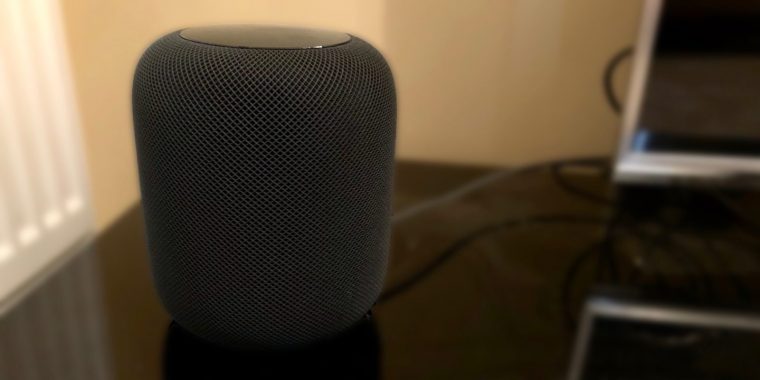
HomePod is a smart speaker produced by Apple that can apply the Siri smart assistant for various purposes. One of its functions can be a music processor, which can submit requests and questions that users provide. This HomePod uses iOS 13 or an operating system that has been updated to iOS 13. There is actually a simple way to use Apple HomePod. You can set up this HomePod easily. You don’t need to install software via your iOS device. To be clearer, then you can just follow these steps. So, you can immediately enjoy the Apple HomePod.
Start By Plugging In The Homepod With Power
You can start with plugging in the HomePod with power and then unlock your phone or iOS device. In this stage, then you have to turn on Bluetooth and Wi-Fi. Then after some time, a window will appear from the bottom of the screen where you can start the setup process. Then tap Settings and select the room where HomePod will be used later. This one thing won’t really change how the HomePod works, but it can affect where to find its settings via the Home app. Then after selecting the room option, you can tap Continue. After that process, specify how you want the HomePod to be used in the Personal Requests screen section.
With this option, you can control who can make various commands. For example, the voice command on the Apple HomePod then sends texts, makes notes or reminders. This includes making calls on the Apple HomePod and much more. You can use HomePod as well as the iPhone device that is used to manage this Apple HomePod feature. Next, tap on Enable Private Requests to allow anyone who can do that Apple HomePod feature or the ‘Not Now’ option to limit orders to us only. Confirm the option by tapping ‘Use This iPhone’ on the next Apple HomePod window.
Complete The Apple Homepod Setup
You can try to agree to the ‘Terms and Conditions’ for using HomePod by simply tapping Agree. Of course, you need to do this in order to continue managing the use of Apple’s HomePod. One aspect that makes setting up the HomePod function very easy is that you don’t need to enter a lot of Wi-Fi network information. This includes other Apple HomePod settings. On the contrary, this HomePod copies all kinds of information, and including the iCloud account too, from the iOS device or phone that you use for setup. You can tap ‘Transfer Settings’ to be able to start this one process.
After the process is complete, the HomePod setup process has ended. For this, it will take approximately 15-30 seconds. With complete settings, the HomePod can give you the convenience of using it. There is actually a quick tutorial about using it by following the screen commands. Of course, there are several other notes about the commands that are in this Apple HomePod. Actions such as turning lights on or off will require you to install a “smart home” and compatible device on your HomeKit.
